Conservation tip: rehousing glass plate negatives
Disclaimer: The following instructions are intended as a guide. As with many conservation techniques the expertise and dexterity of the practitioner is paramount to the success of the treatment. Practitioners must be confident handling sharp cutting tools and fragile glass plates to undertake the following method.
Rehousing Glass Plate Negatives on a budget
It should be mentioned that this method is intended as an inexpensive re-housing system – compromises have been made with some of the materials and techniques in order to save on costs.
Purpose-made, off-the-shelf storage systems exist for housing glass plates and where finances are available they may be more suitable for your purposes.
On this page
- Important things to note
- Tools and equipment
- Handling
- Making your soft mat work surface
- Cleaning procedure
- Re-housing procedure
- Broken plates
Important things to note
There are a few key characteristics that this system is based on:
- Glass is stronger on its edge than across its plane and storage systems should be designed with this in mind
- Non-archival quality boxes can be used when they are physically isolated from their contents with an inert, archival quality barrier. However, archival quality boxes are always preferable where finances permit
- All materials used in direct contact with photographic materials need to pass the Photographic Activity Test (PAT) outlined in ISO 18916
Tools and equipment
- Soft-bristled brush, such as goat hair or similar – for dusting the plate
- Pencil – labelling the new archival envelope
- Soft mat – for placement of plates during cleaning – these must remain very clean.
- Gummed Linen tape – for binding board enclosures for broken plates.
- Archival quality mount board (passes PAT)
- Seam-free, four-flap archival quality paper envelopes (pass PAT). Do not use seemed envelopes as they may stick to your negative down the track.
- Cardboard or polypropylene storage box to fit your negative size (see below). Archival quality, acid-free boxes are preferable. Choose a box size that will not be too heavy when full.
- Closed-cell, polyethylene foam (Ethafoam) for padding the storage box.
Handling
- Plastic gloves must be worn when handling photographic negatives and prints.
We use Medi-flex powder-less Nitrile gloves. Close-fitting surgical gloves are also acceptable. Sulfur-free gloves should be worn - Glass plate negatives are extremely fragile and need to be handled very carefully. The glass is old and brittle and plates may have been cracked or broken and will sustain further damage if not treated with care.
- Try to ascertain whether a plate is cracked or broken prior to picking it up. If the plate is broken prepare a clean sheet of mount board to support the plate at all times during handling.
- Handle plates from the edges where possible
- Handle as little as possible – always place plates FLAT on a work surface before brushing.
- Plates should only be placed on CLEAN work mats – ensure your area remains clean and brush away debris between rehousing each plate.
- Where plates are still stored in original boxes horizontally in a pile – To remove your plates cut a piece of mountboard the same size as the plates. Place this piece of card on top of the uppermost plate and hold the board firmly in place while you flip the box over and place it onto the prepared soft mat work surface. All the plates are then more easily accessed from the stack – it is also easier to check for broken plates as each new plate in the stack is revealed.
Making your soft mat work surface
- Cut a piece of mount board or stiff card board so that it is about 100 mm larger than your plates all around.
- Wrap this board with soft, lint-free, tissue paper – such as lens tissue.
- Secure the tissue paper on the back of the board with sticky tape (ensure this tape does not come in contact with the plates).
- Replace the tissue paper regularly as it becomes soiled and worn.
Cleaning procedure
- Remove the plate from old packaging and place emulsion side up onto your clean work mat – ensure there is no debris on the mat. (Emulsion side is the dull side) Be aware that small shards of glass may be present when plates are broken.
- Use the soft brush to gently dust the surface of the plate. Turn the plate over (again ensuring there is no debris) and place flat before brushing the other side.
- The following cleaning technique must only be attempted by those who are confident of identifying the glass side from the emulsion side of the plate. The glass side of the plate can be cleaned with a cotton wool ball moistened with a solution of Ethanol and deionised/distilled water (80% Ethanol and 20% water) – the cotton wool ball must not be too wet and the ethanol solution must not get onto the emulsion side of the plate. Use small circular motions to clean the glass – rotate in from the edge of the plate. Use a dry cotton ball to buff the glass dry and remove streaks. You should be confident that there is no masking or other information on the glass side of the plate before you attempt this technique
Re-housing procedure
- Choose a box that will fit the glass plates standing on their edge with enough extra space for the padding material.
- Pad all internal surfaces of the box excluding the lid with 5mm thick polyethylene foam (Ethafoam)
- Pre-fold a new archival four-flap envelope and transcribe all information from the old packaging before you place the plate into it.
- Place the plate into its new envelope
- Arrange the plates in groups of ten and place an Ethafoamâ divider between each group.
- Pad out any excess space in the box with blocks of Ethafoamâ to prevent the plates from moving. Any movement will place them at risk of breakage.
Broken plates
- It is best to store broken plates flat – to do so you may have to store them separately from the main group. When stored flat do not stack the plates in large groups as this places weight and pressure on the bottom plates in the stack.
- Broken plates can be stored between two sheets of mount board – this storage system is best for collections that will not be accessed in the future. The mountboard must pass the Photographic Activity Test (PAT) – ask your supplier about this.
- Cut mount board 10mm larger than the dimensions of the plate.
- Arrange the pieces of the plate on one of the sheets of board and then cover with the other sheet.
- Keep the sandwich sitting flat on your work surface and slide it to the edge of the table allowing about 20 mm to overhang the edge.
- Tape each edge of the board sandwich with gummed linen tape – rotating each edge over the lip of the table to allow access. Attach the tape and fold it around the board to the other side. Burnish the tape down gently with a bone folder (or similar) to ensure good adhesion. Allow the tape to dry thoroughly before placing into storage box.
- Label the “sandwich” of board with “Fragile, broken glass” and any handling or access instructions you wish
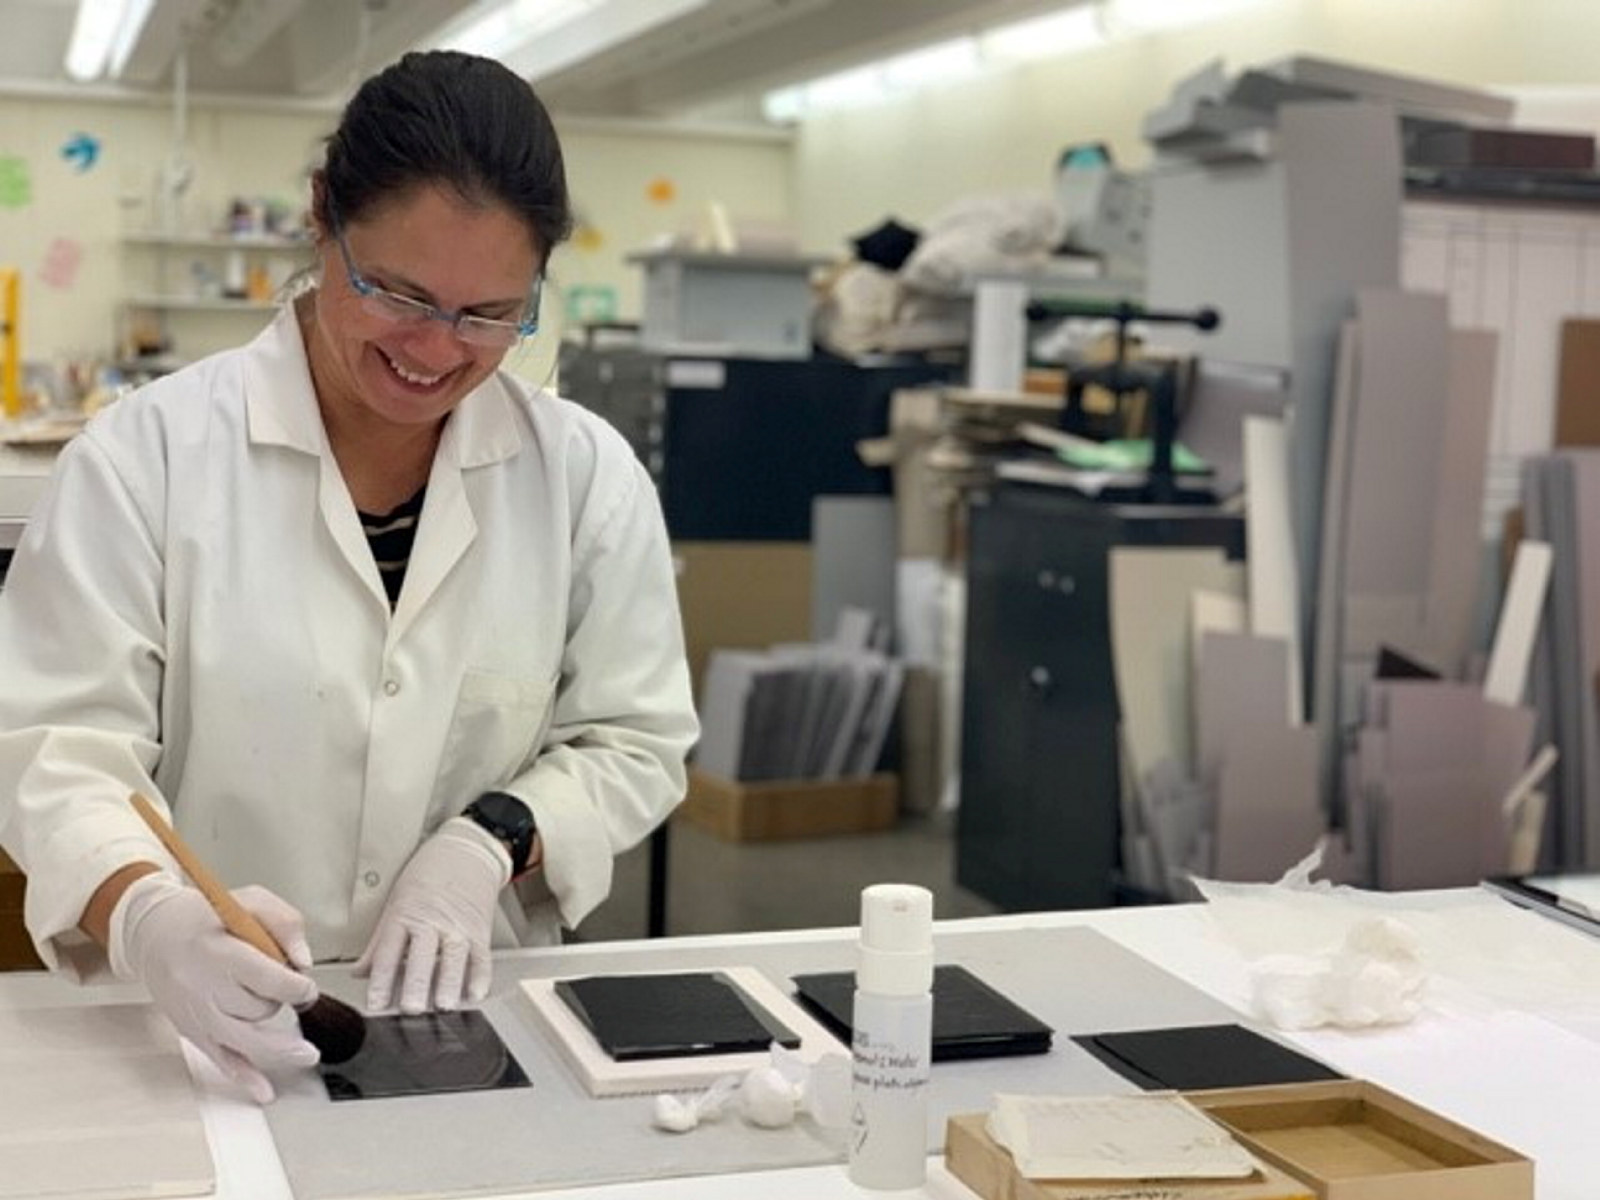
Archives behind the scenes - unboxing a glass plate negative
In this episode we visit the Conservation Lab where Elizabeth shows us how to unbox glass plate negatives - very gently!